
zine: DIY moth bucket trap
Build a no-kill, no-skill bucket trap for mothing in under an hour!

I made a mini-zine! You can print it, fold it, and share it with friends to spread love of moths. Download and print the zine from the link below, or buy a physical copy from my shop! Then read on to read detailed build instructions.
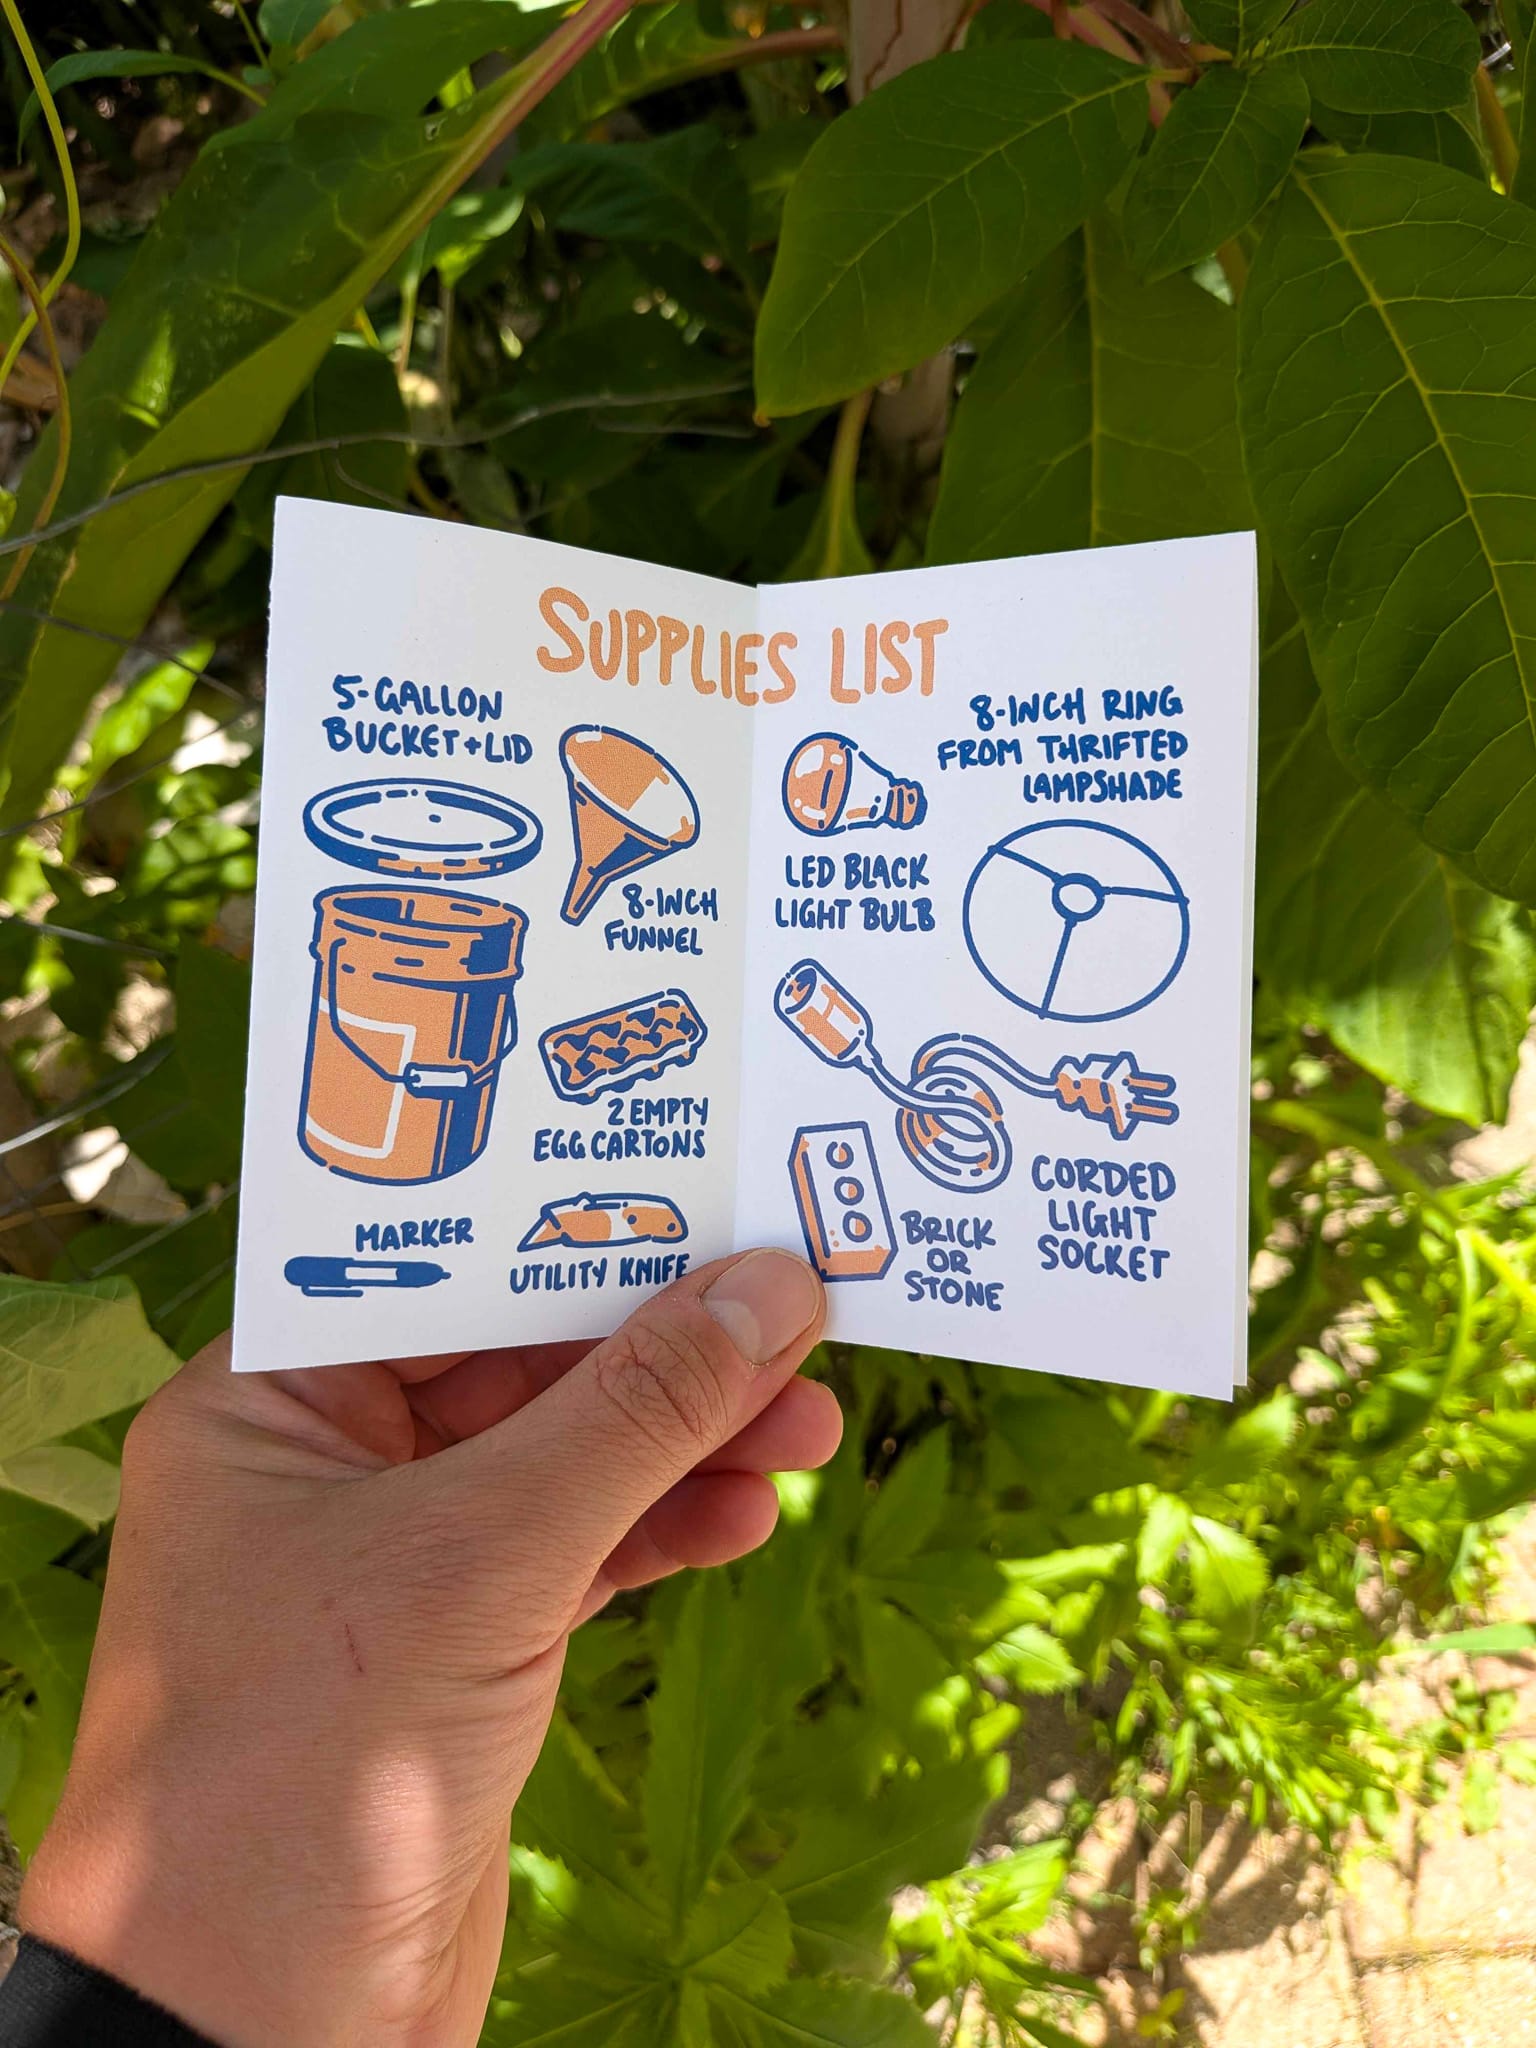
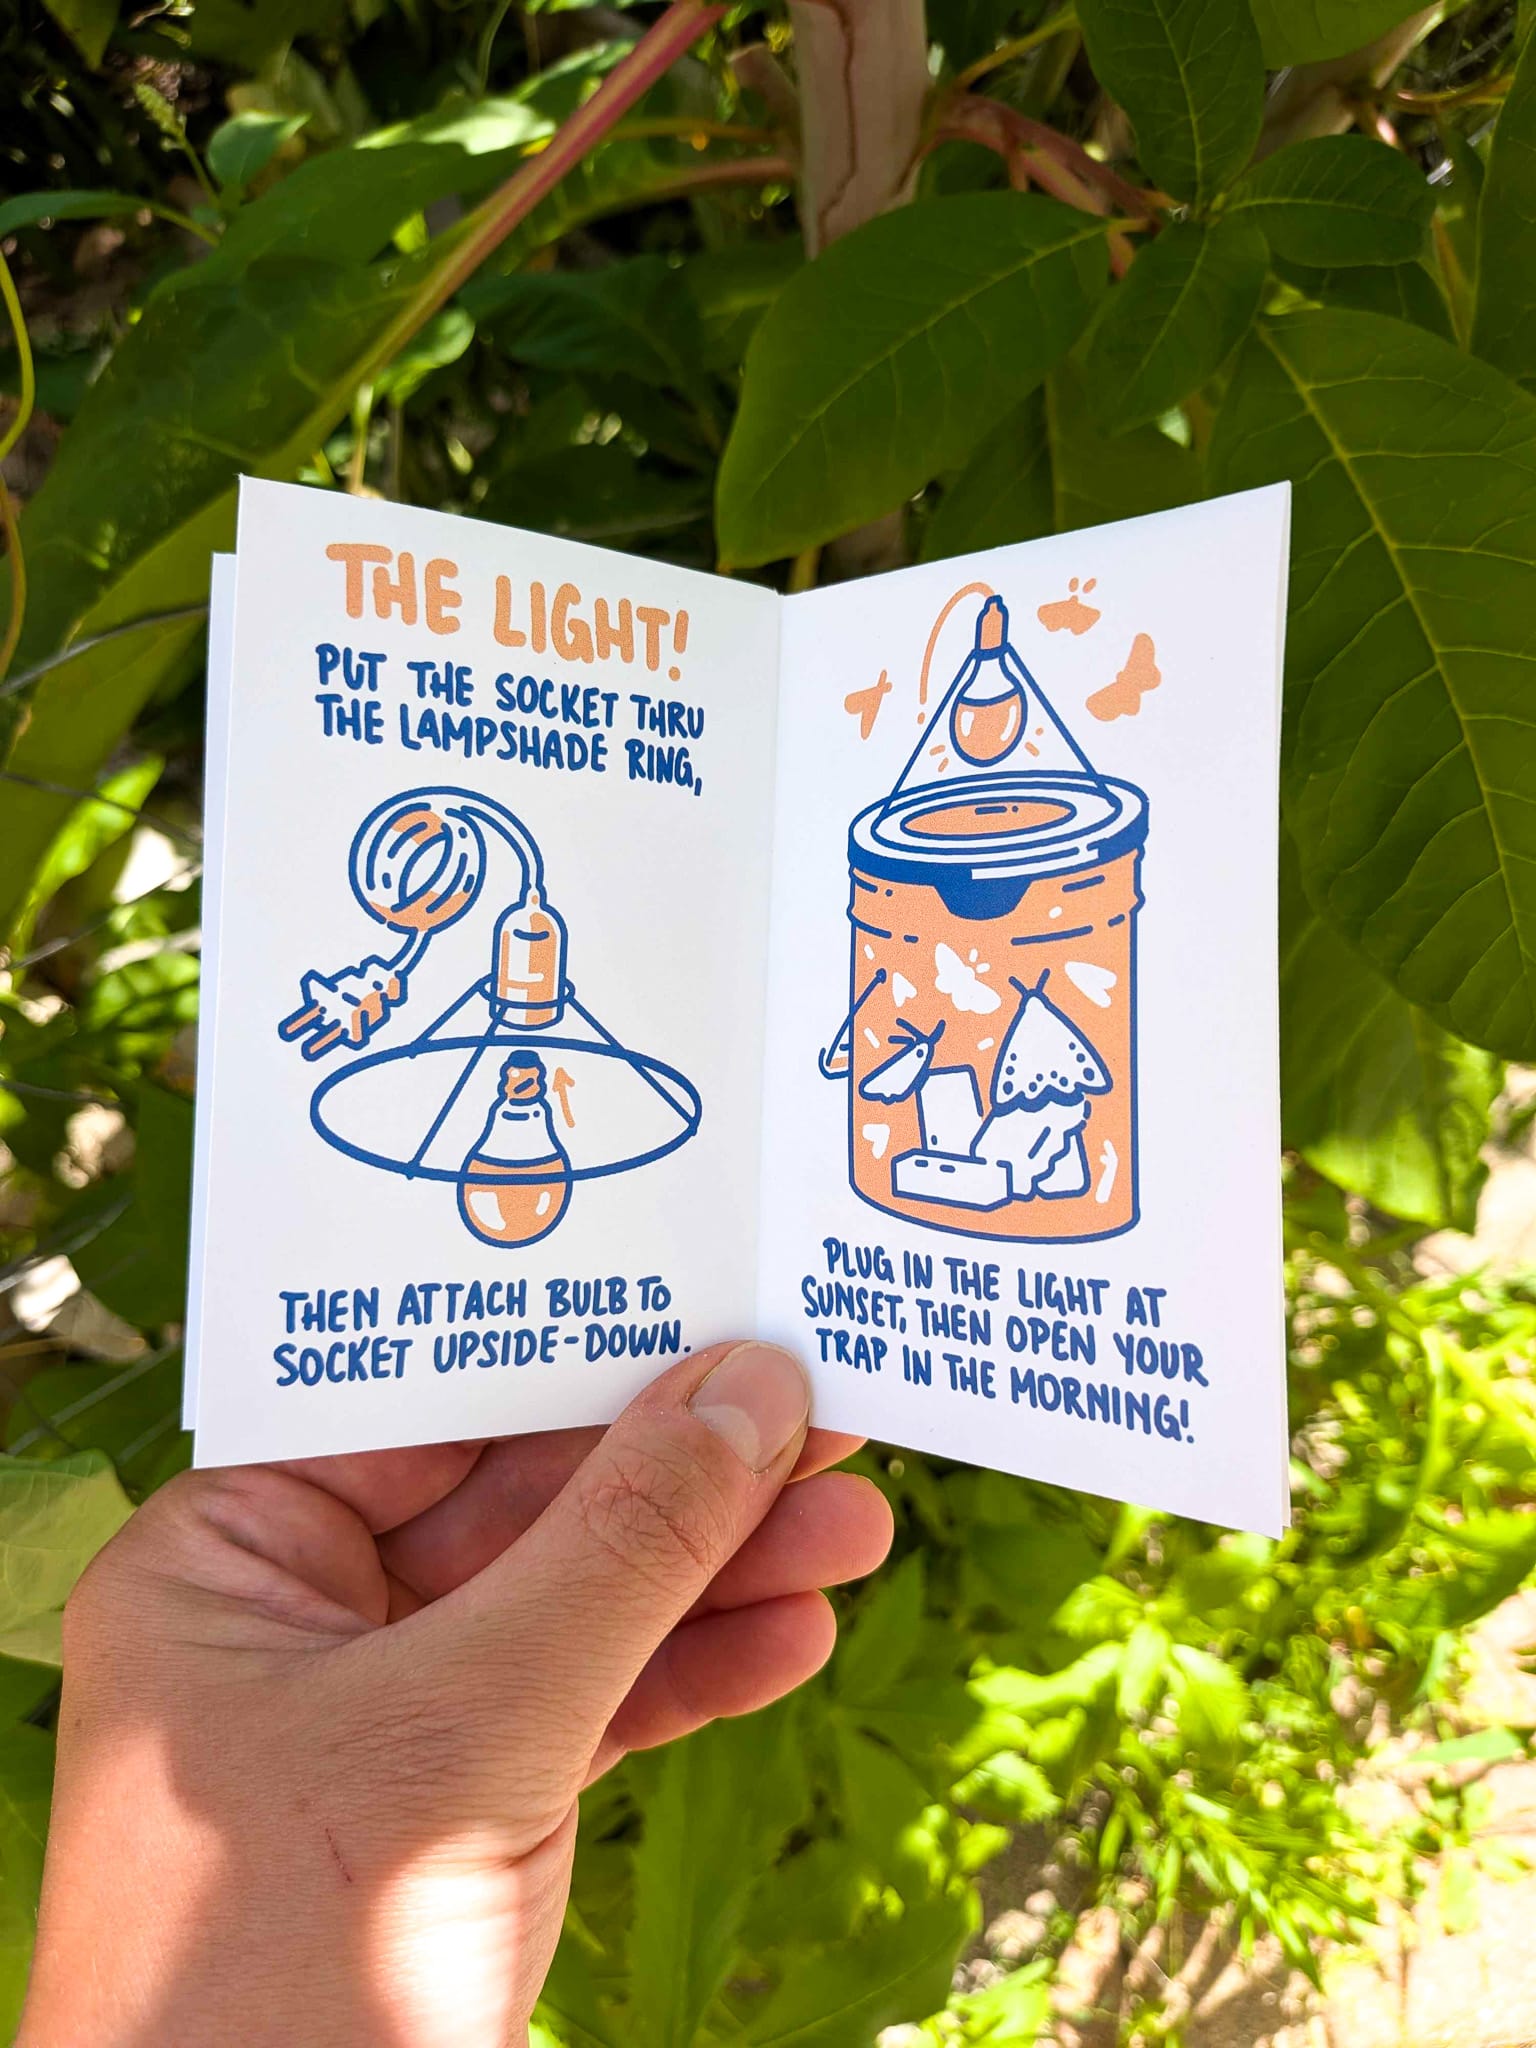
I've been using a bucket trap for moths over the last few summers with great success. Bucket traps draw in the moths overnight with a bright light, which disorients the moths and sends the clumsy ones into the bucket through a funnel. They rest in the bucket until you open it in the morning. No need to stay up late!
There are many great tutorials out there about how to make moth traps, but they vary by complexity, budget, and DIY ability. I wanted to create a Minimum Viable Product bucket trap that required easy-to-find parts, as cheap of a budget as possible, and near-zero handyman skills. I want to say up front that I am not an entomologist, not even an intermediate-level moth identifier, but every moth bucket morning feels like Christmas!
Here is what I have assembled. It is a no-kill, no-skill project that can be assembled in under an hour. You might already have half of the supplies in your closet.
supplies
tools
- Permanent marker
- Utility knife
supplies for the bucket:
- 5-gallon bucket lid
- 5-gallon bucket
- 8 inch plastic funnel (found at brewing supplies stores or auto shops)
- You may need a handsaw instead of a utility knife to trim the funnel if the plastic is thick- keep this in mind!
- A few empty paper egg carton halves for moths to rest on
- A brick or similarly-weighted stone
supplies for the light:
- An A19 LED UV black light bulb
- A corded light socket
- Lampshade ring with 8-10 inch diameter
- The cheapest option is to thrift a lampshade and remove this part!
let's make it!
step 1: assemble the bucket
The bucket has two parts: the lid, and... well, the bucket. Start with the lid.
Place the large end of your funnel centered on the lid, and trace the edge onto the lid with a marker. Then use your utility knife (or similar cutting tool of choice) to carefully cut out a hole approximately a 1/2 inch smaller than the traced outline. The funnel should nest into the hole, supported by the cut edge.
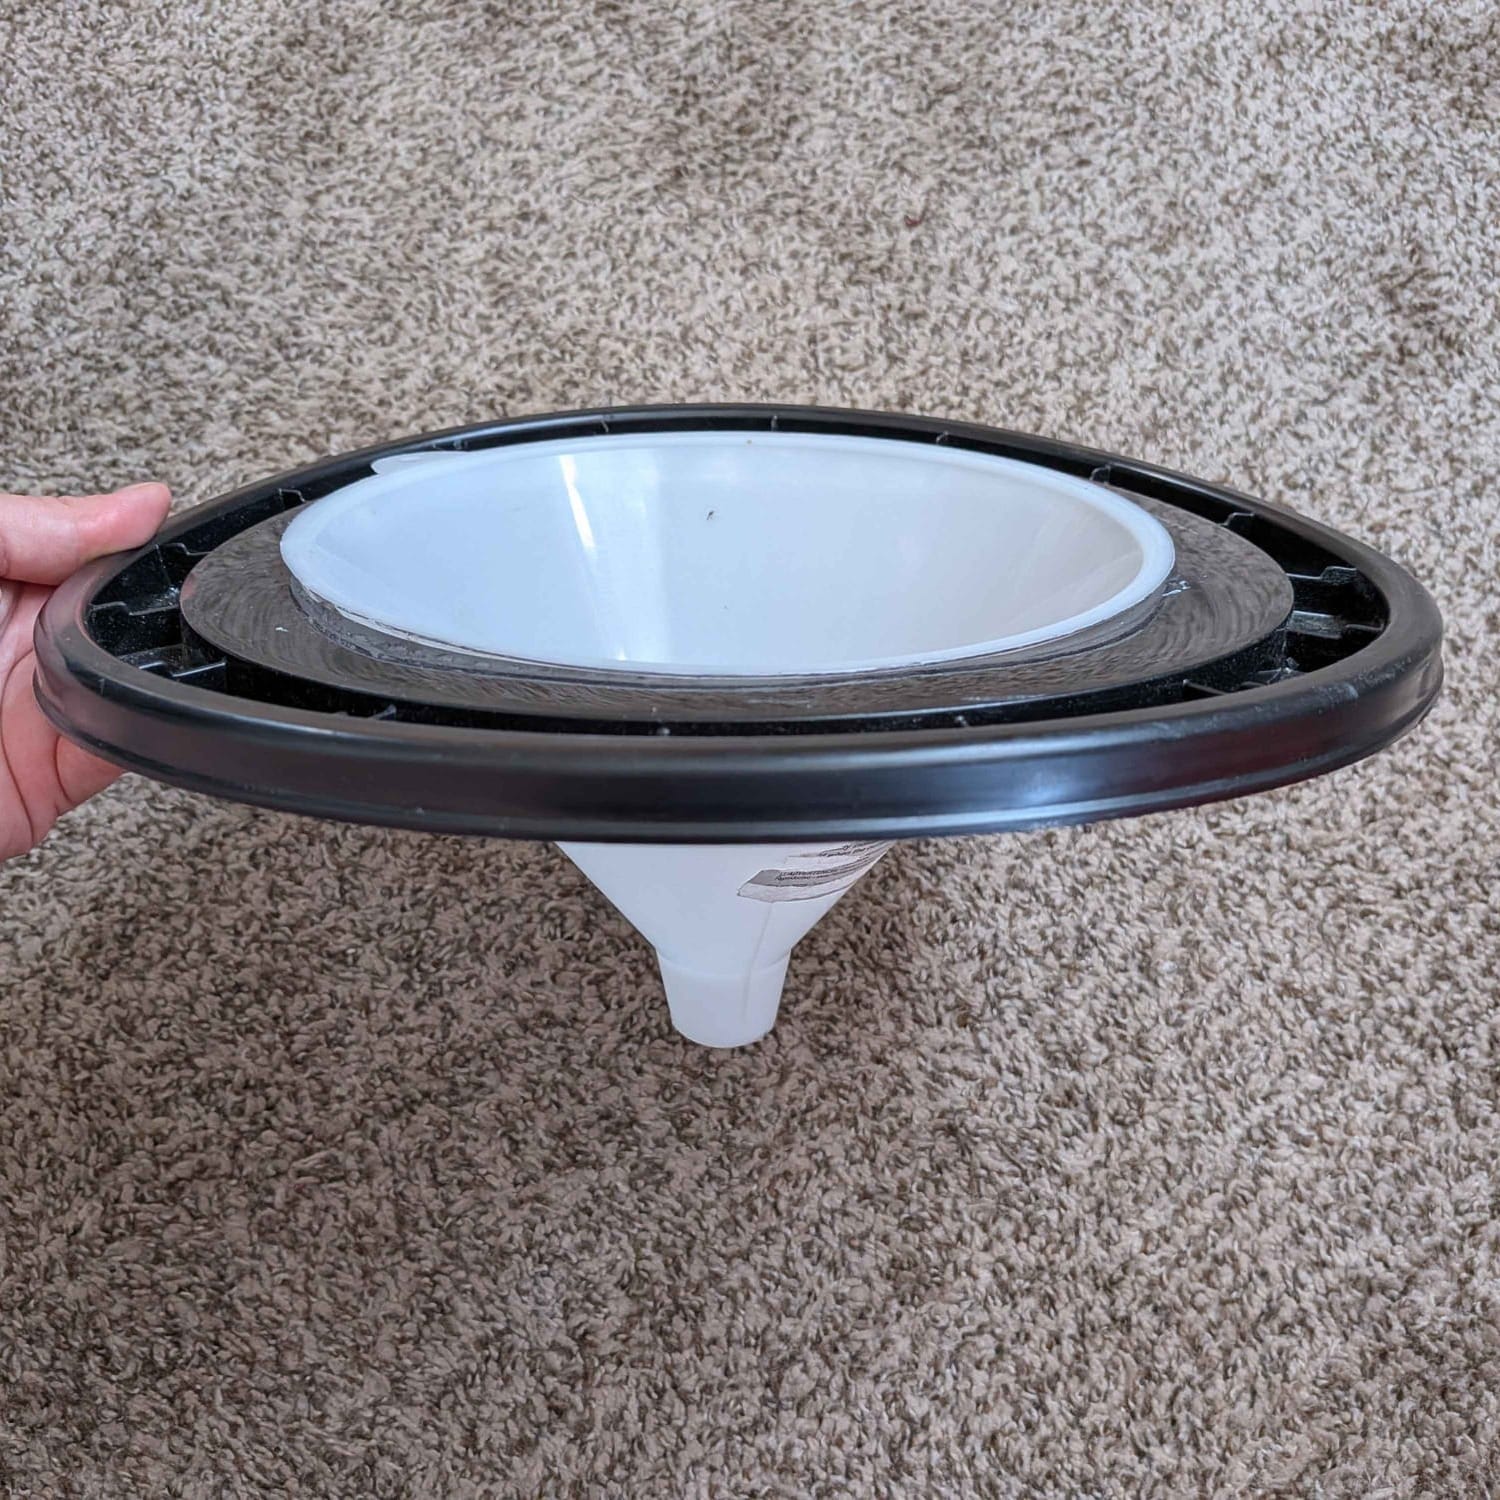
We want the the small end of the funnel to be large enough to let moths in, but not large enough to let captured ones escape. Most guides recommend trimming the funnel down so the small end is 1.5-2 inches wide.
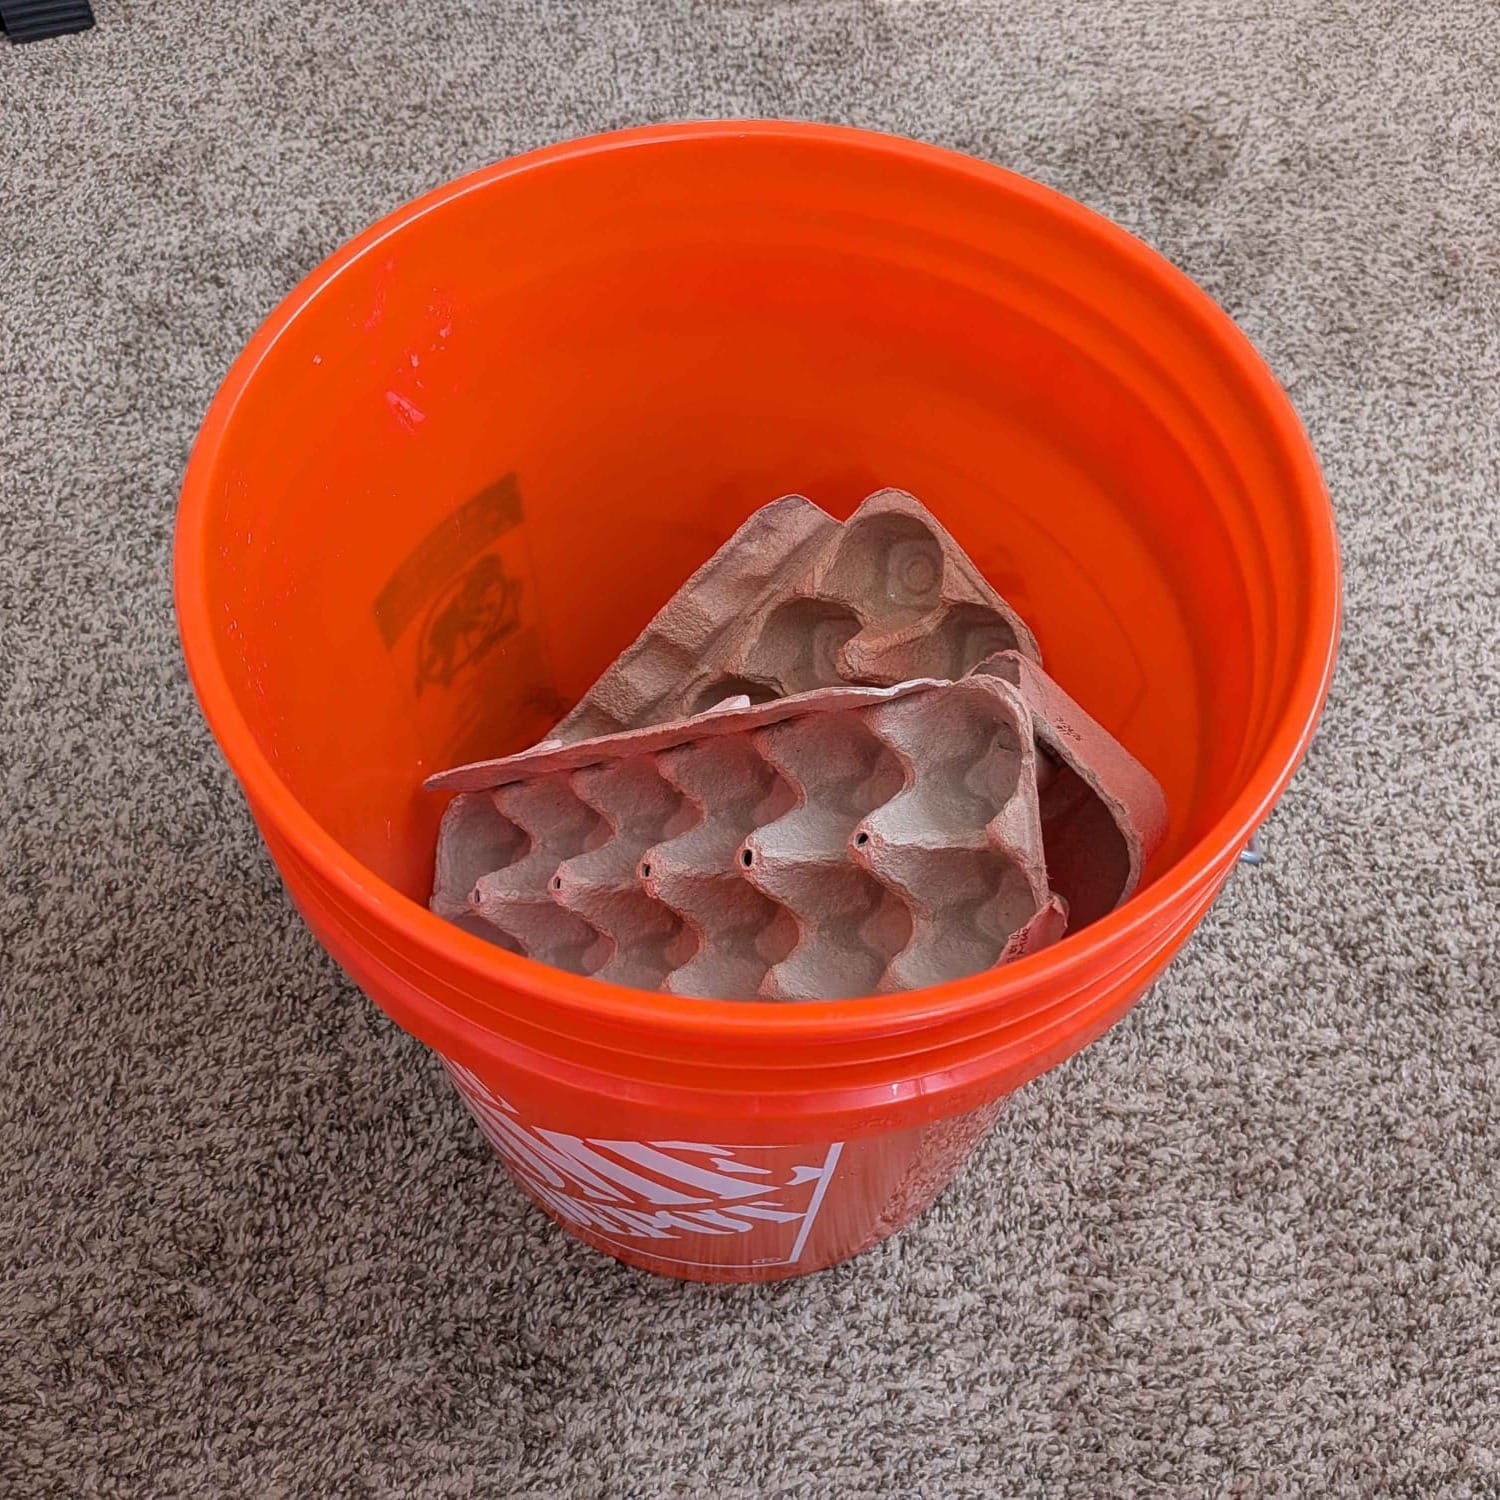
The bucket itself requires no alterations. Place the weight (stone or brick) in the bottom to stabilize the bucket, then add 2-4 egg carton halves for the moths to rest on and hide in.
step 2: assemble the light
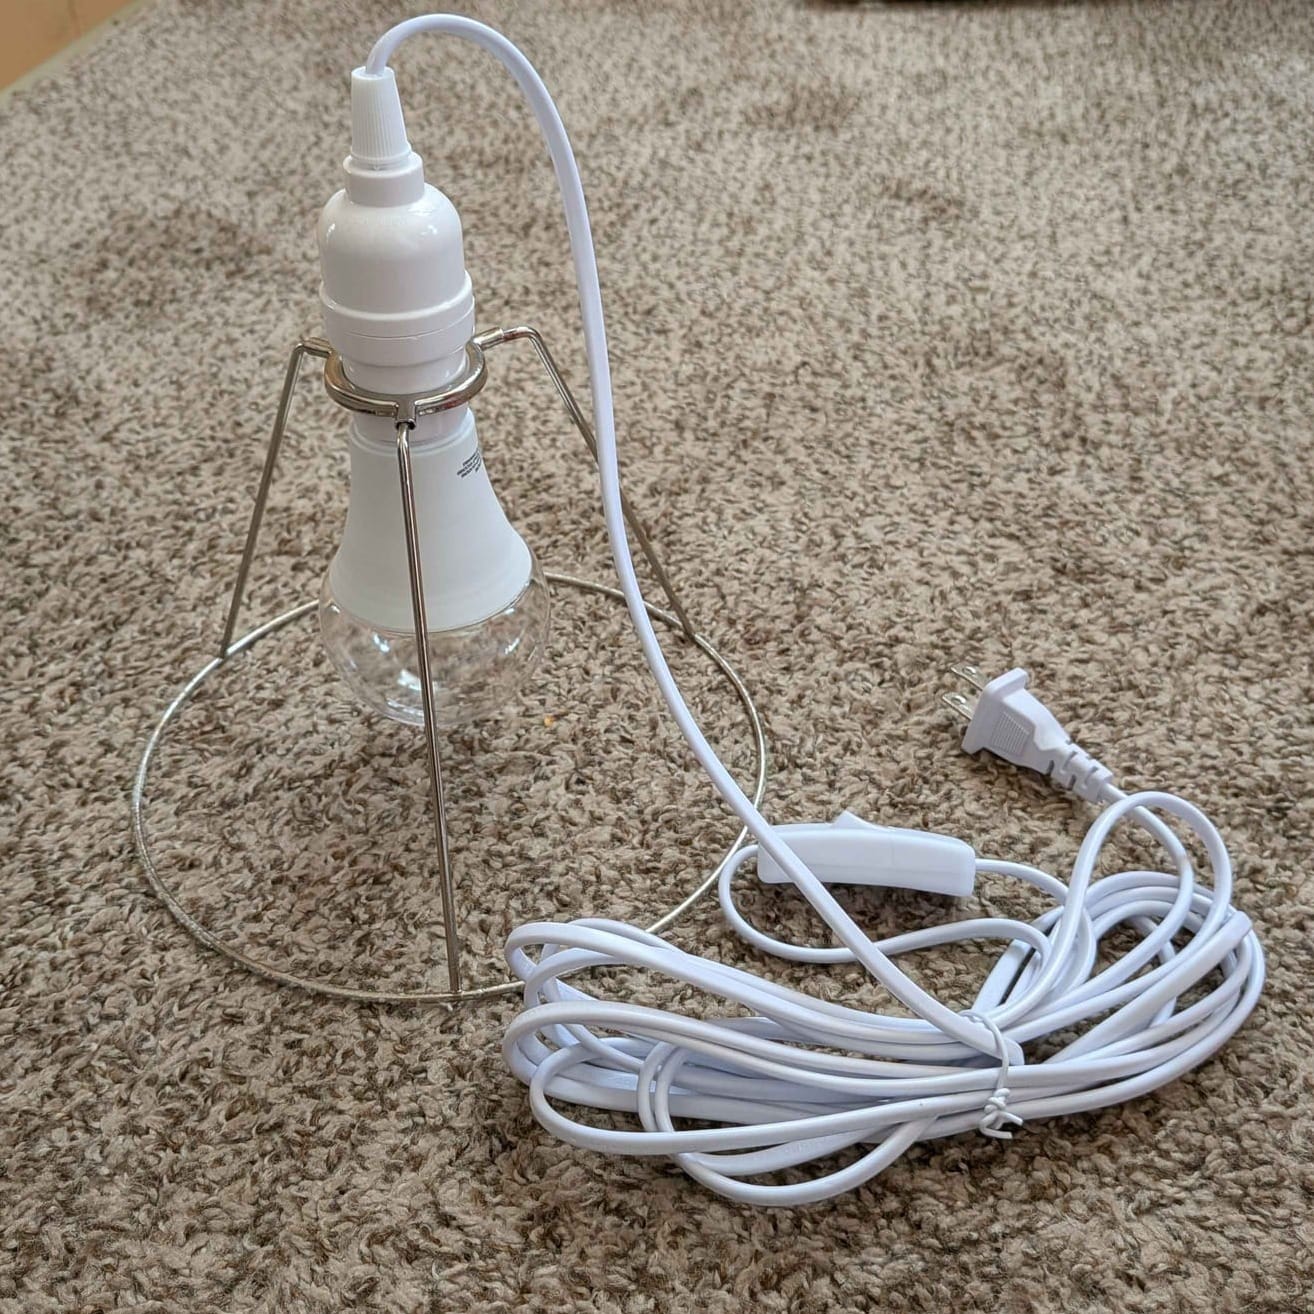
Put the light socket into the small ring of the lampshade support, then screw the bulb into the socket. The bulb should be pointing towards the large ring so when we place the lampshade ring on the bucket lid, the bulb is pointing downwards.
step 3: put it together
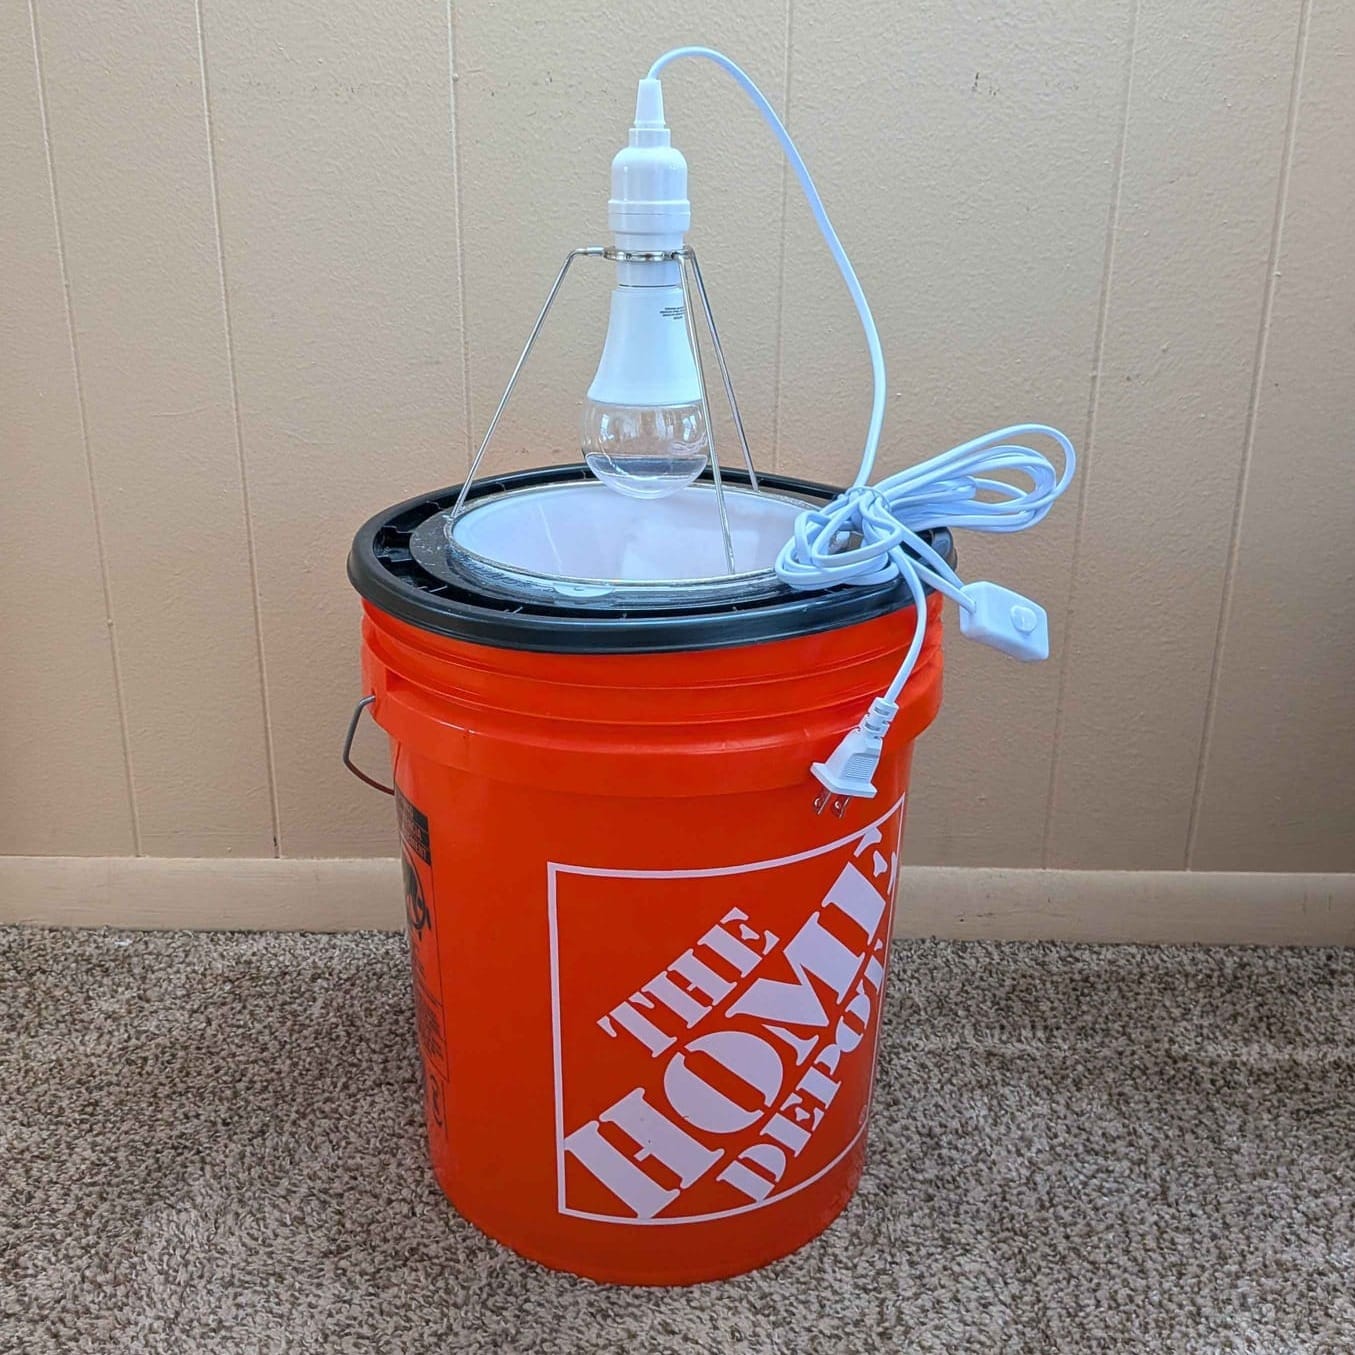
Put the lid on the bucket, make sure the funnel is nested flush in the lid hole, and place the lampshade ring + light onto the lid. Plug your light into a power source, and you're ready to go!
step 4: using your bucket trap
I set out my moth trap around dusk as the sky is getting dark, turn on the light, and leave it until morning.
Conditions are very important for a successful moth bucket. You want to set up your trap on a warm (the hottest nights are the best), humid summer night without strong wind. Ideally, the moon is small, below the horizon, or hidden by cloud cover. Being in an area with lots of natural habitat is ideal, but even urban areas can have great mothing!
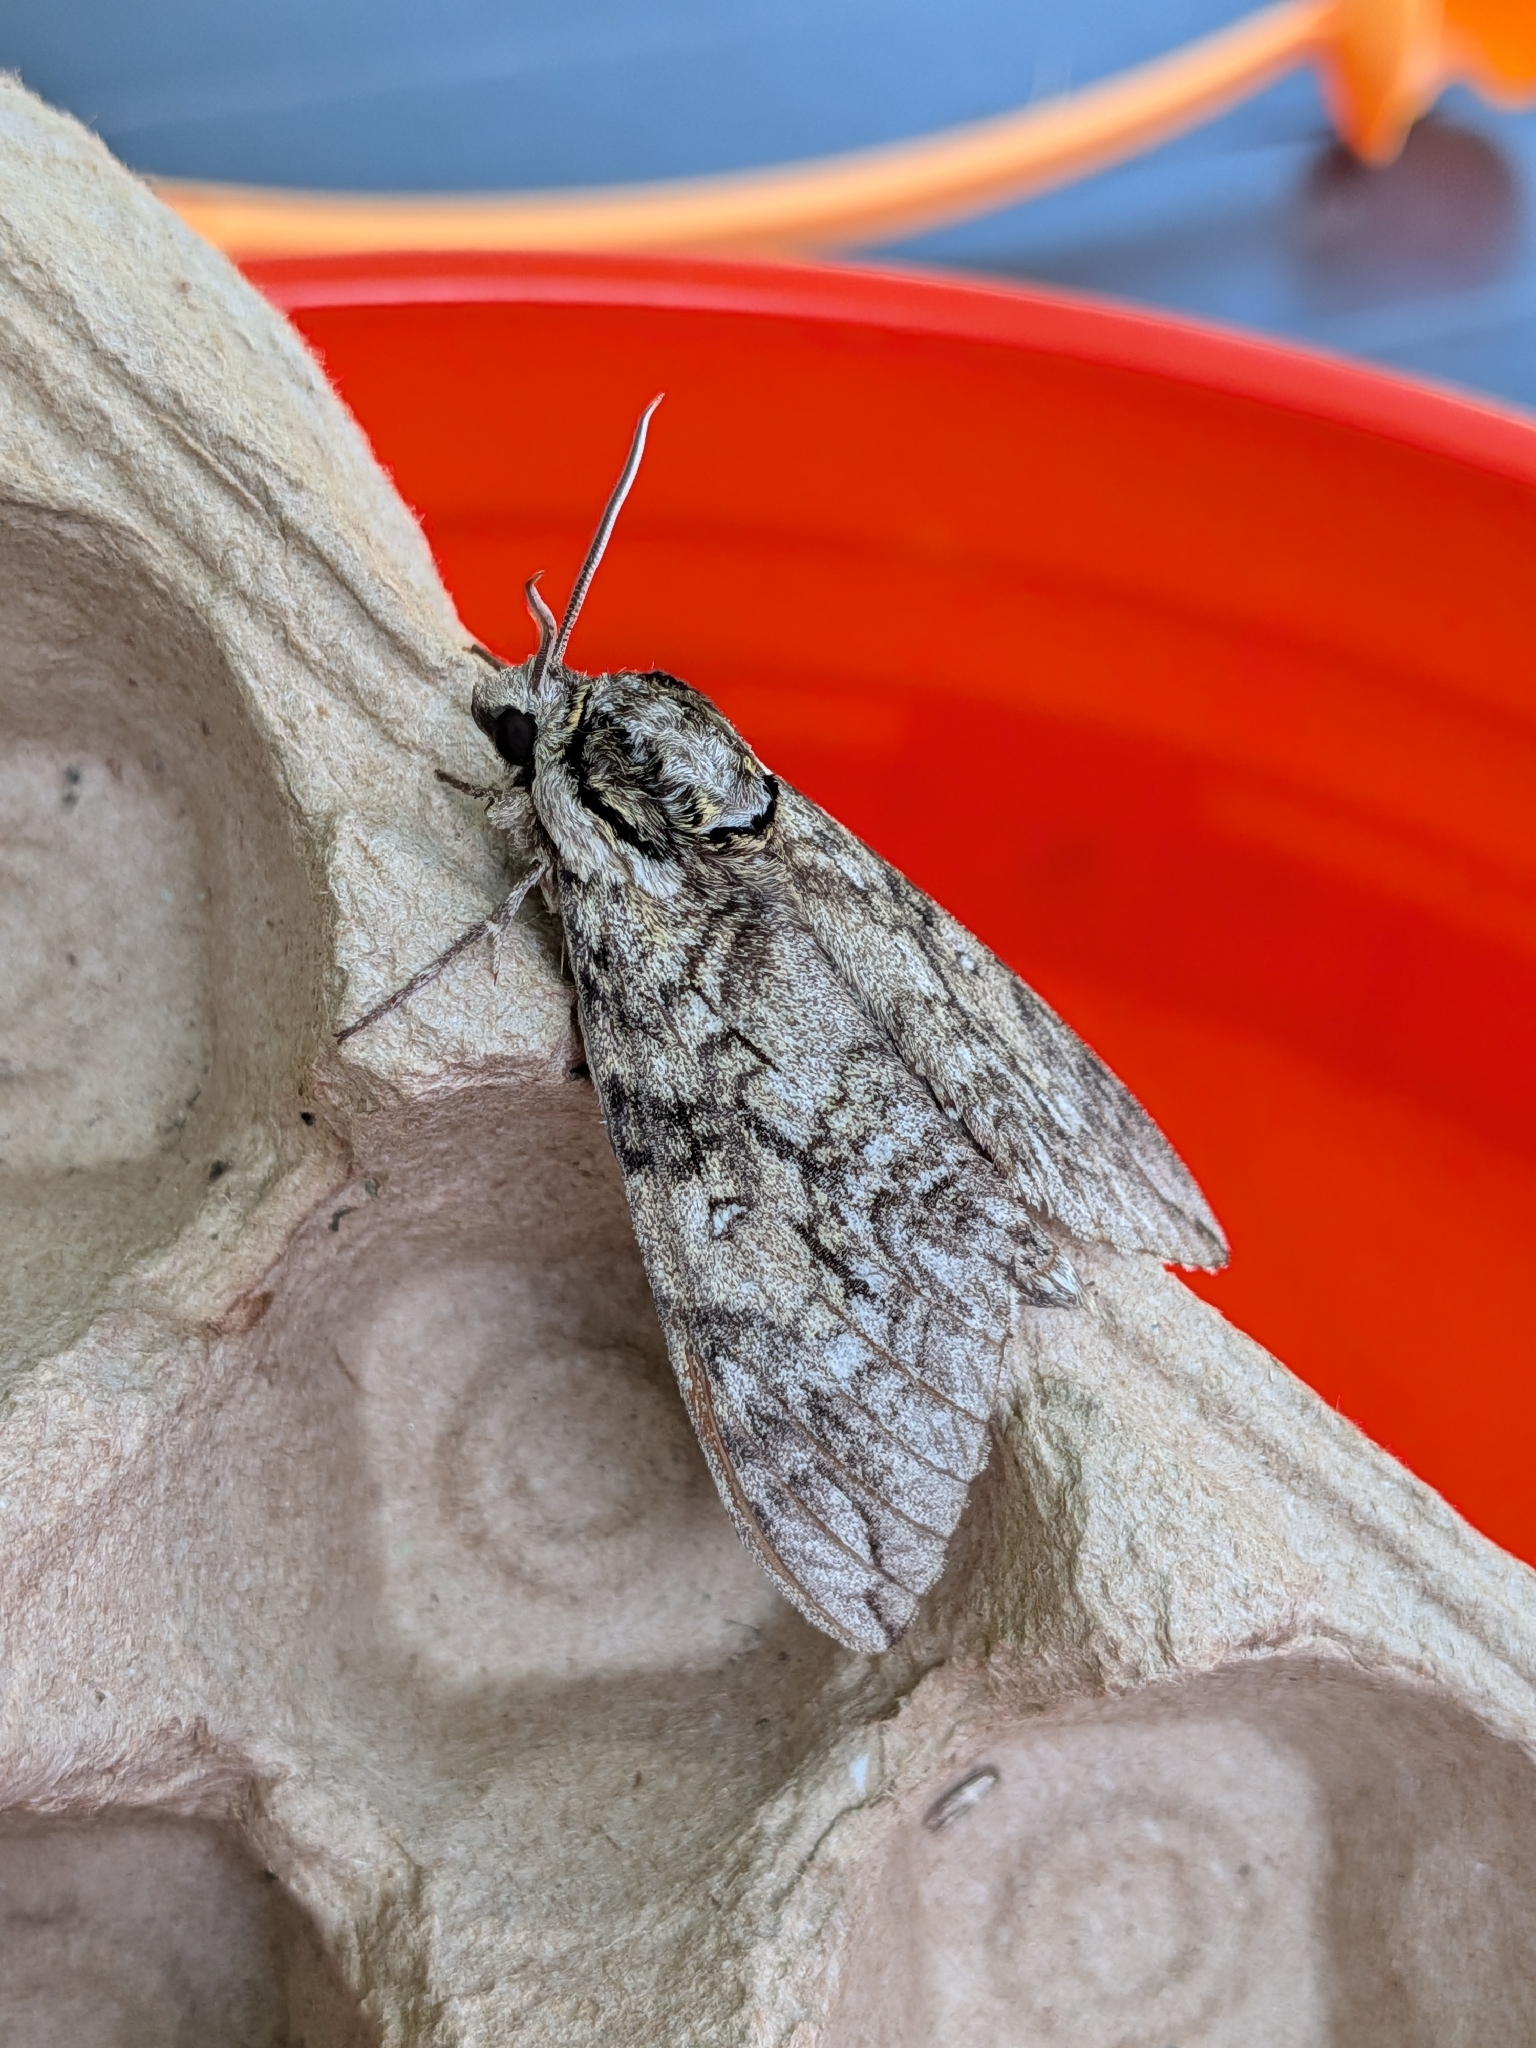
First, I thoroughly check the bucket exterior and the ground nearby. When visiting family in Michigan over summers, I always bring my moth trap with me. I almost always find at least one or two huge Polyphemus moths sitting right on top of the bucket in the morning!
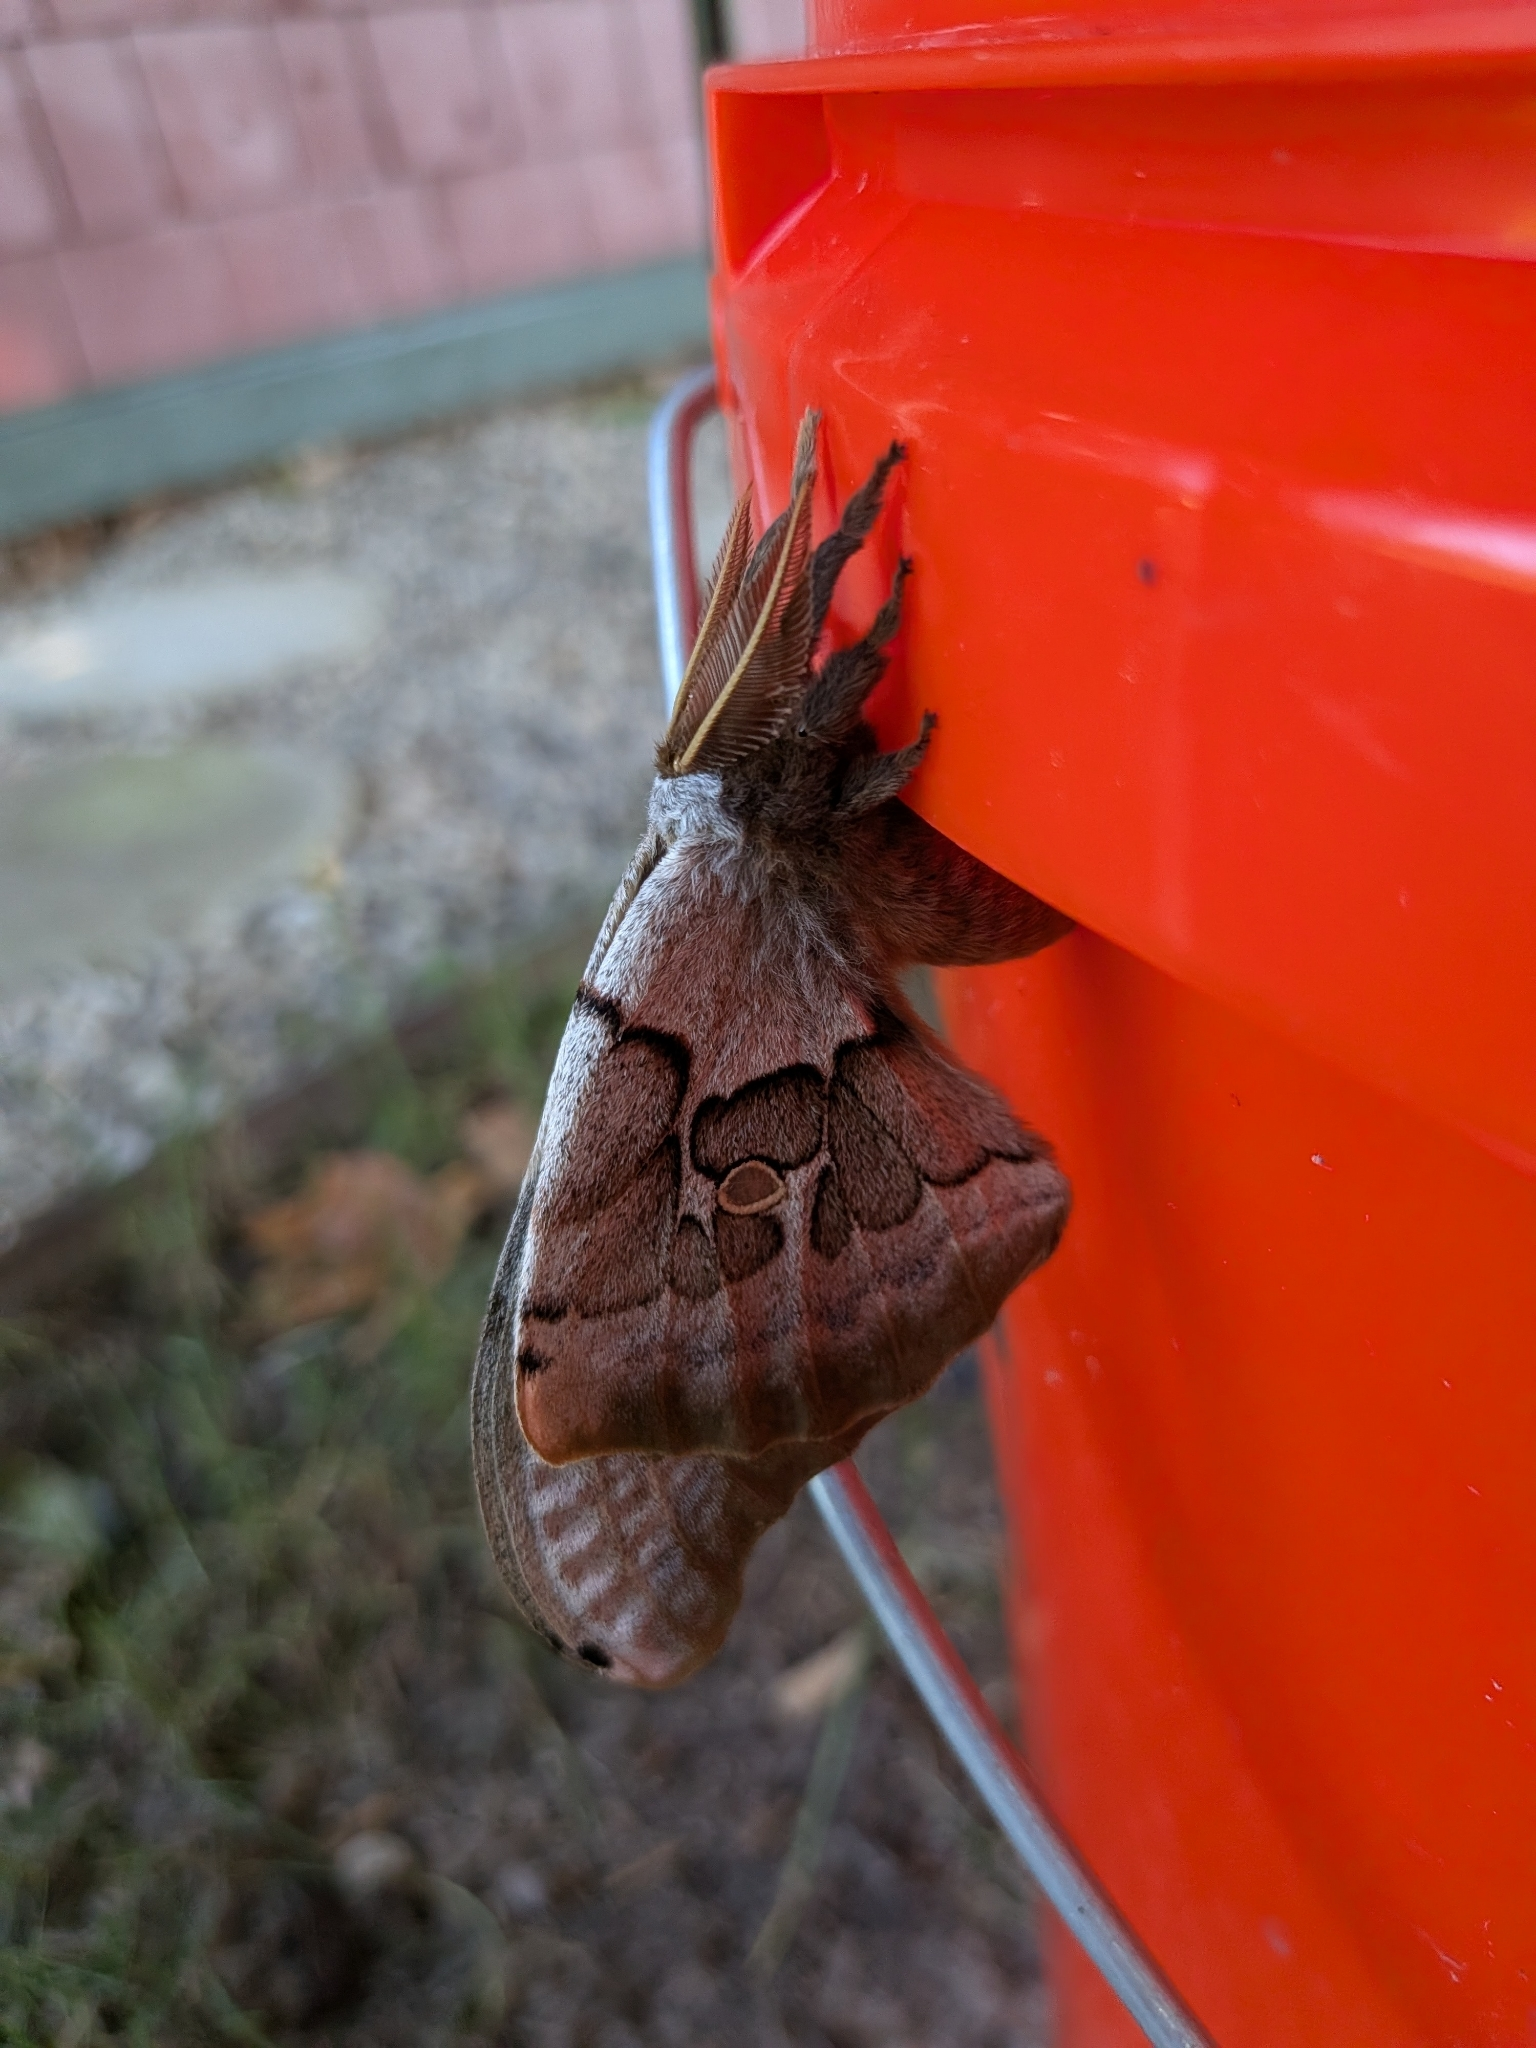
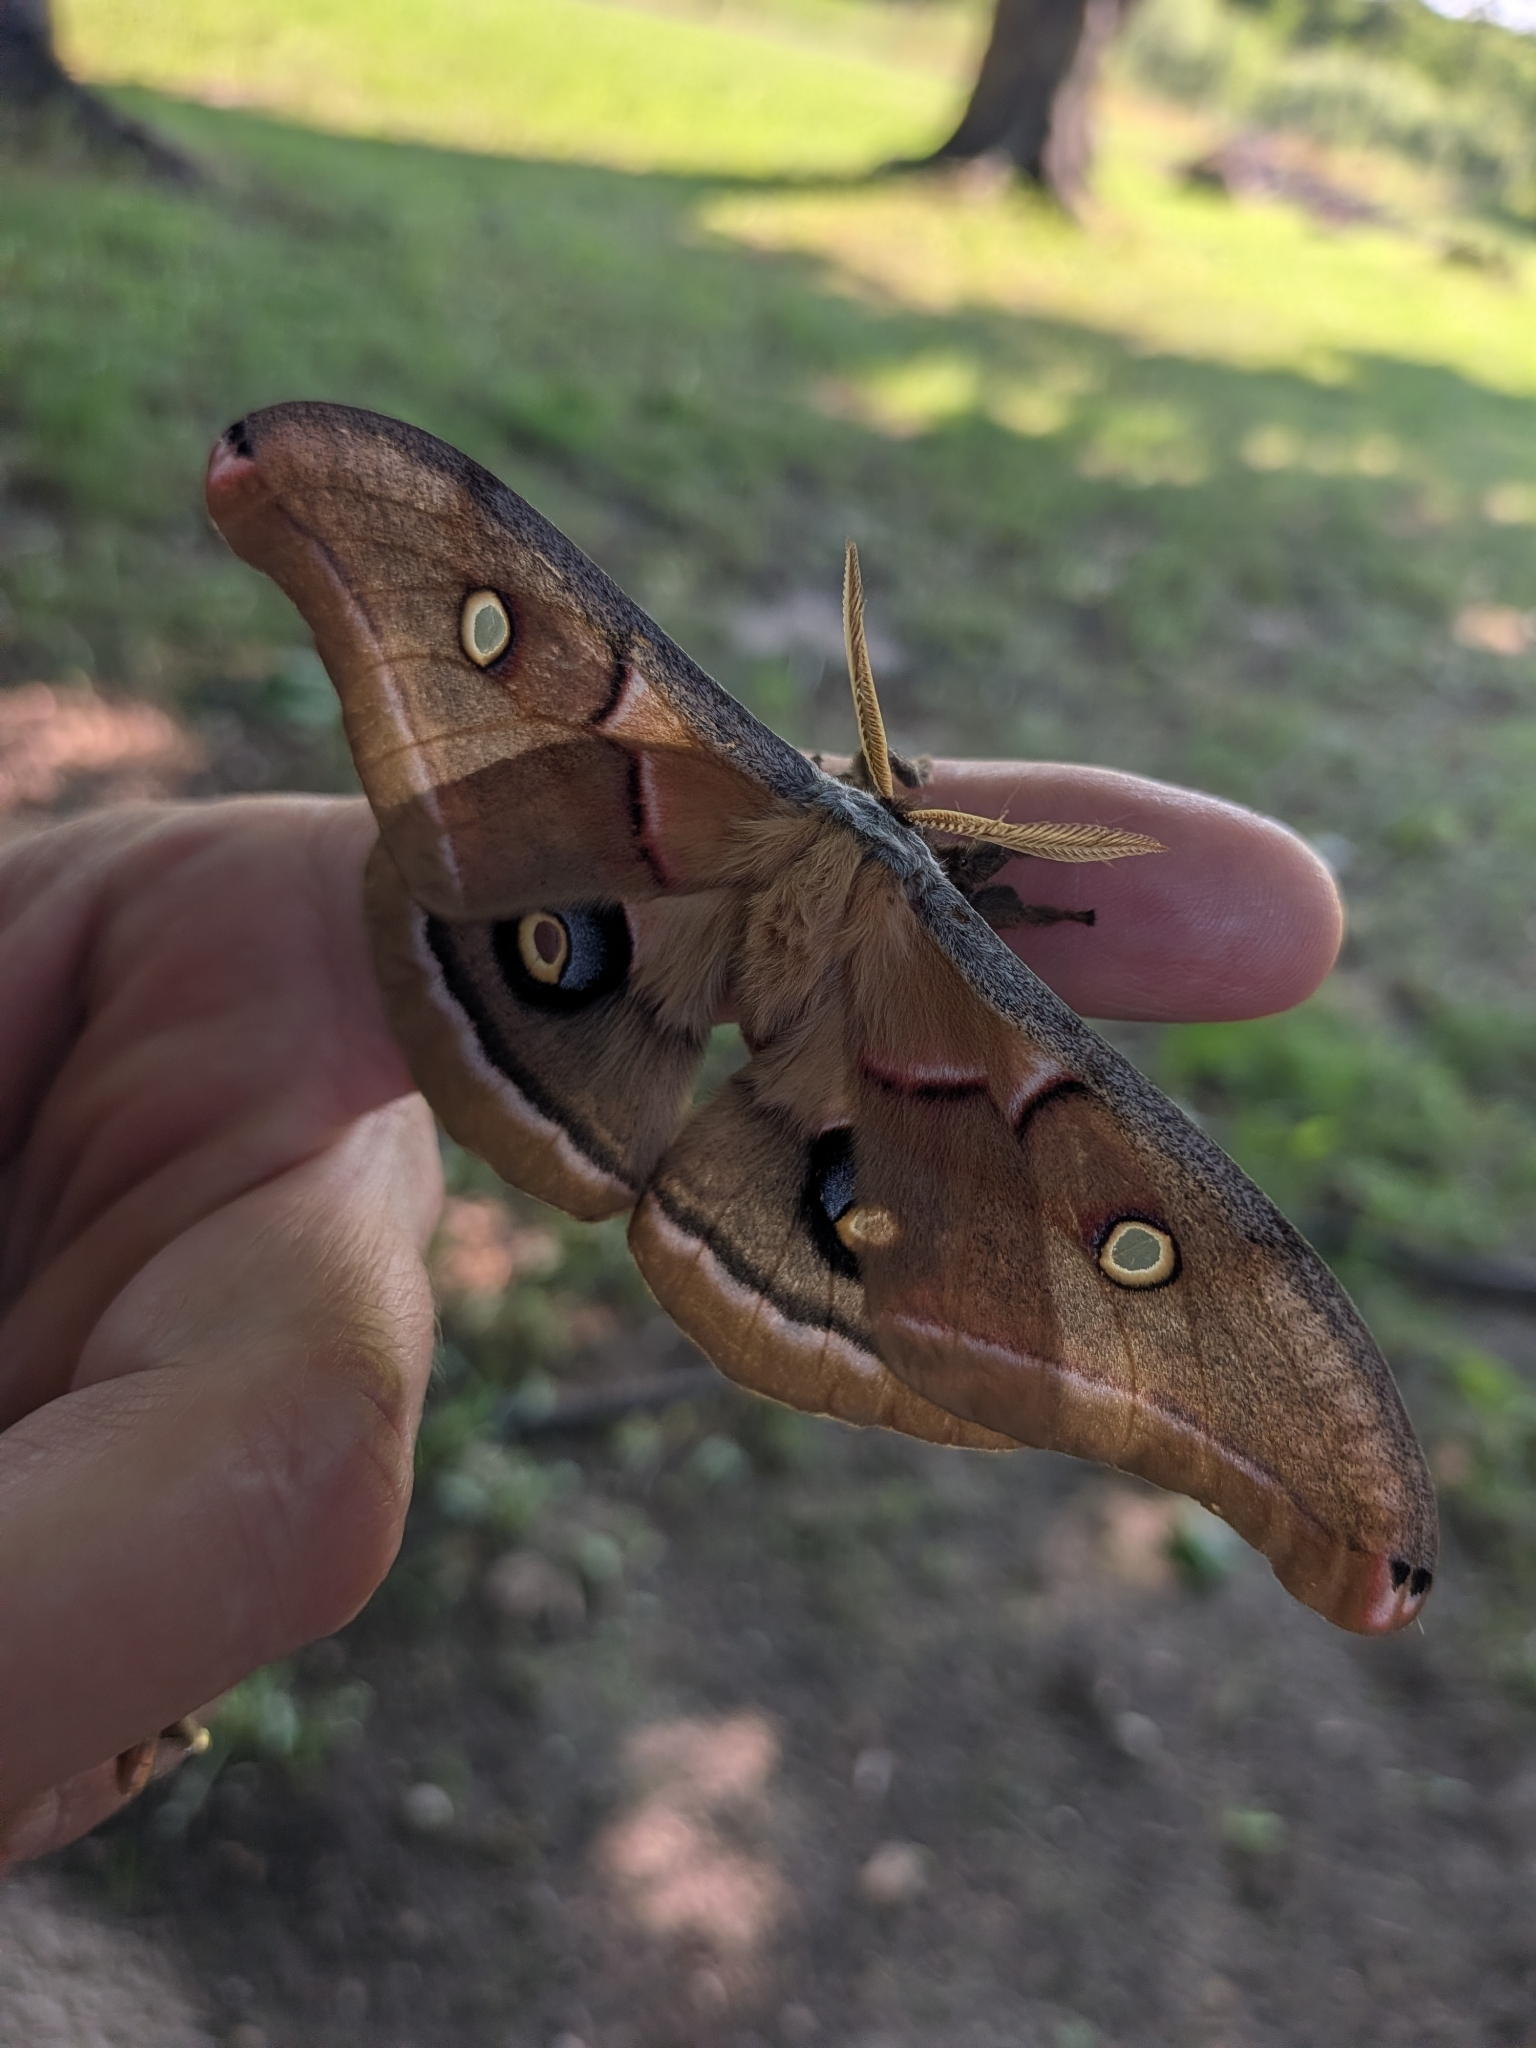
Sitting on my Home Depot bucket, chill as it gets.
Then I very carefully open the lid to glimpse what is inside. I place the lid back on the bucket as I take out the egg cartons one-by-one, checking every crevice and bump of the cartons for moths. Avoid bumping or shaking the bucket, which can cause moths perched on the walls to fly off and escape before you can observe them.
Each time I find a moth, I take a photo with my camera or phone, which is later uploaded to iNaturalist, the world's largest community science database. I take photos of all the other species that I find as well!
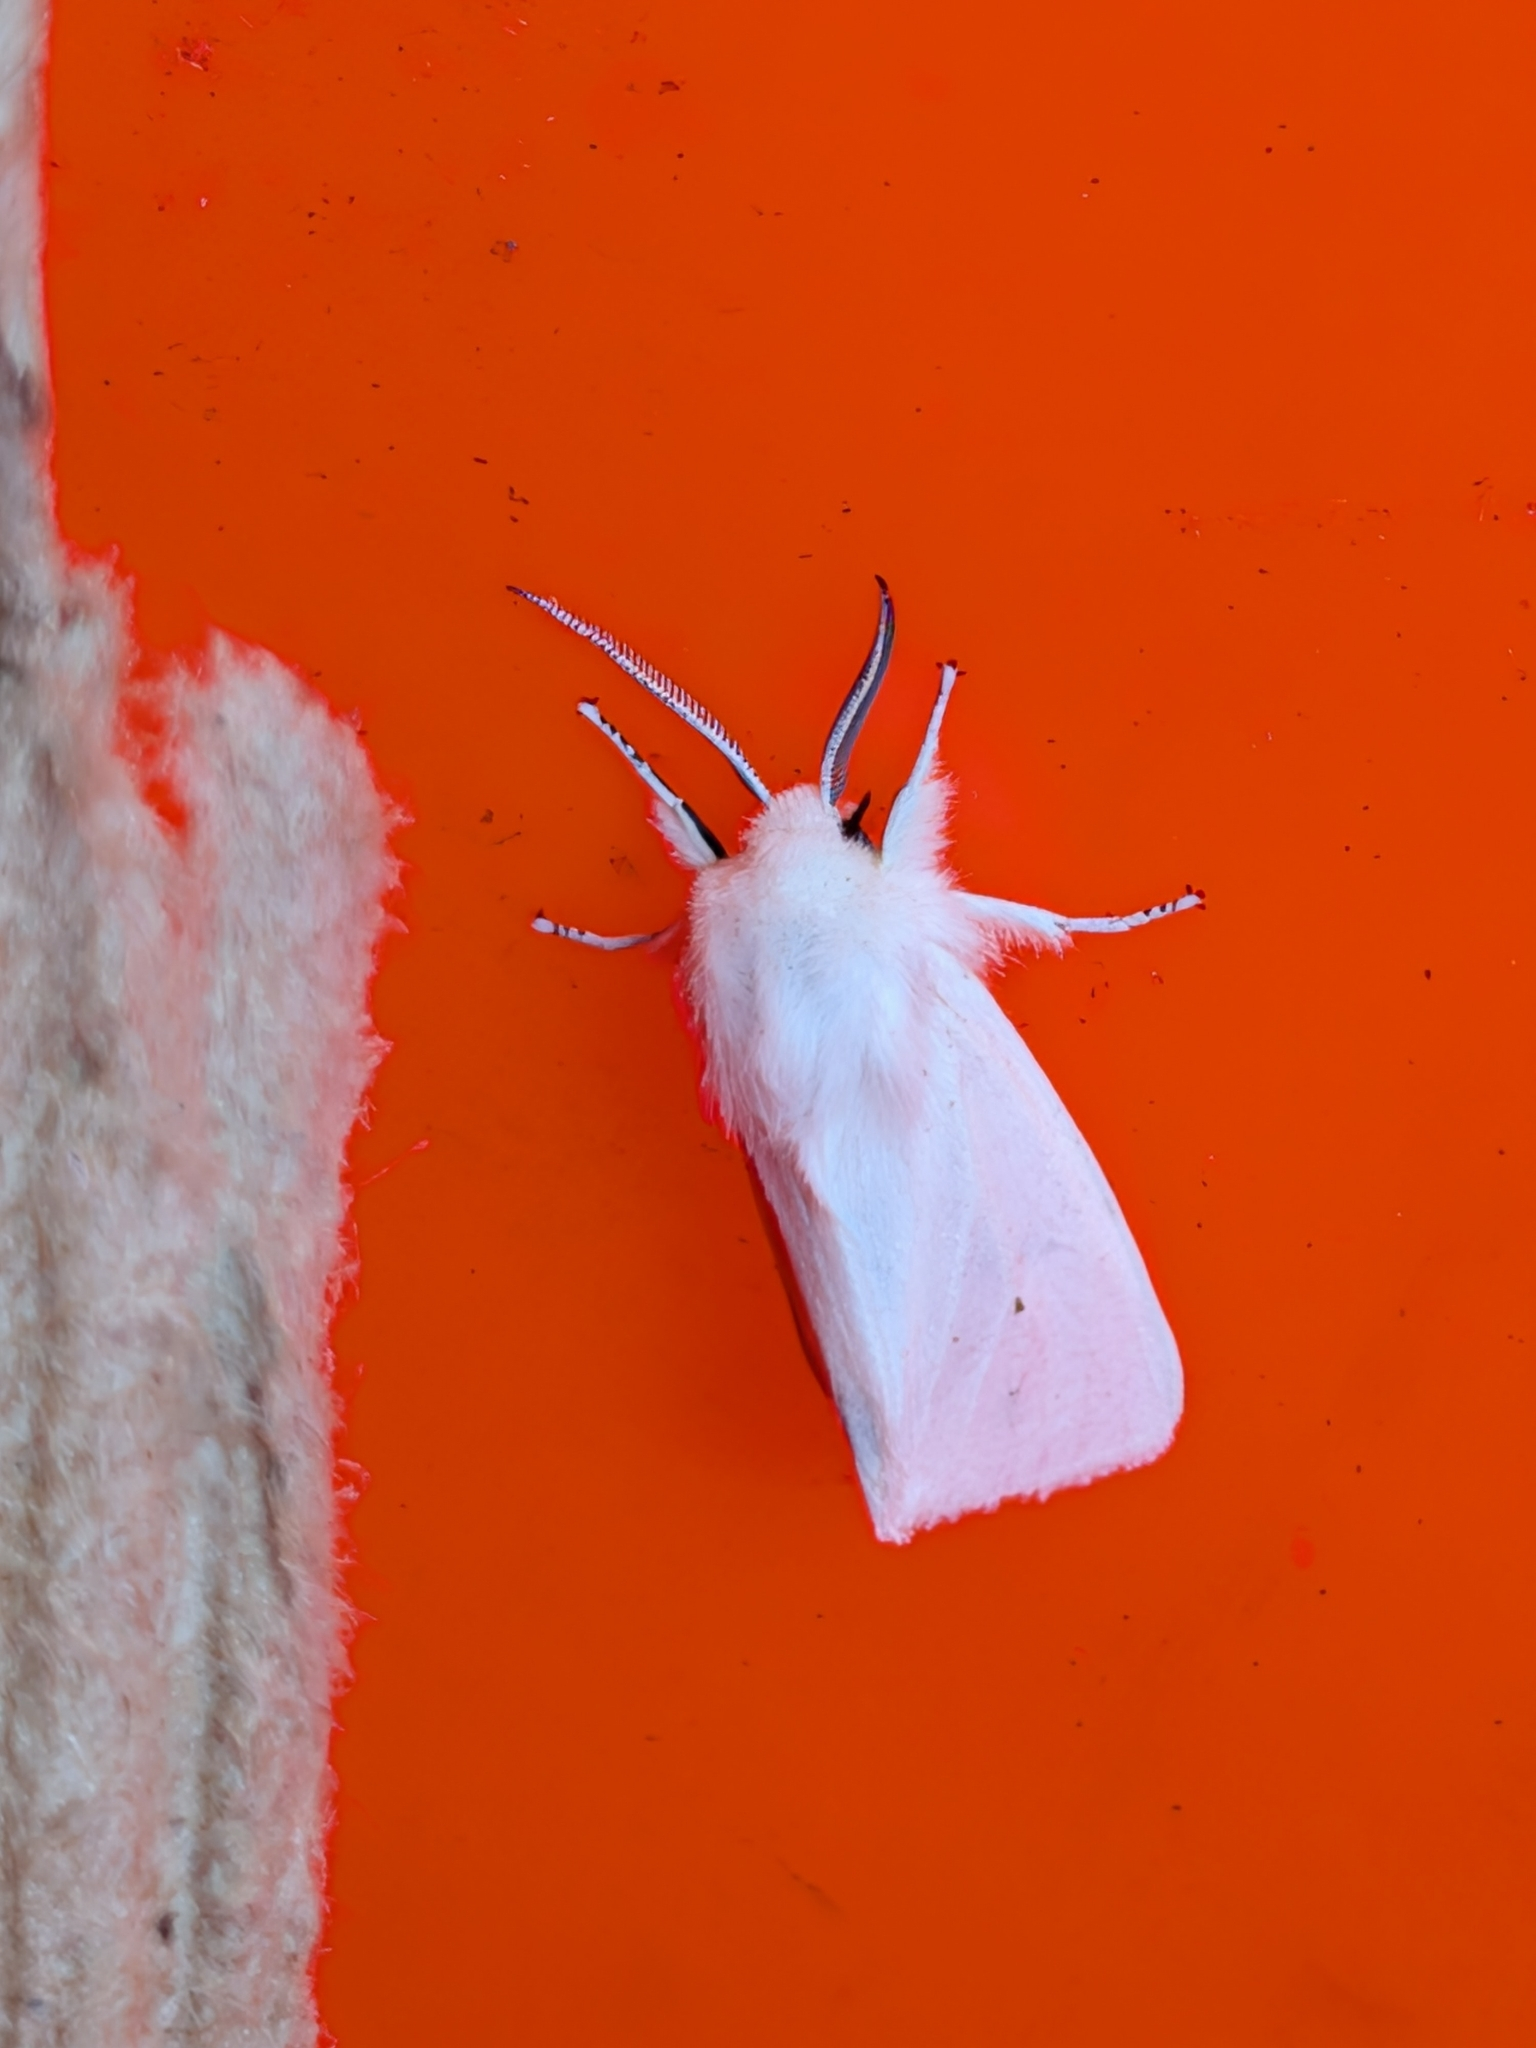
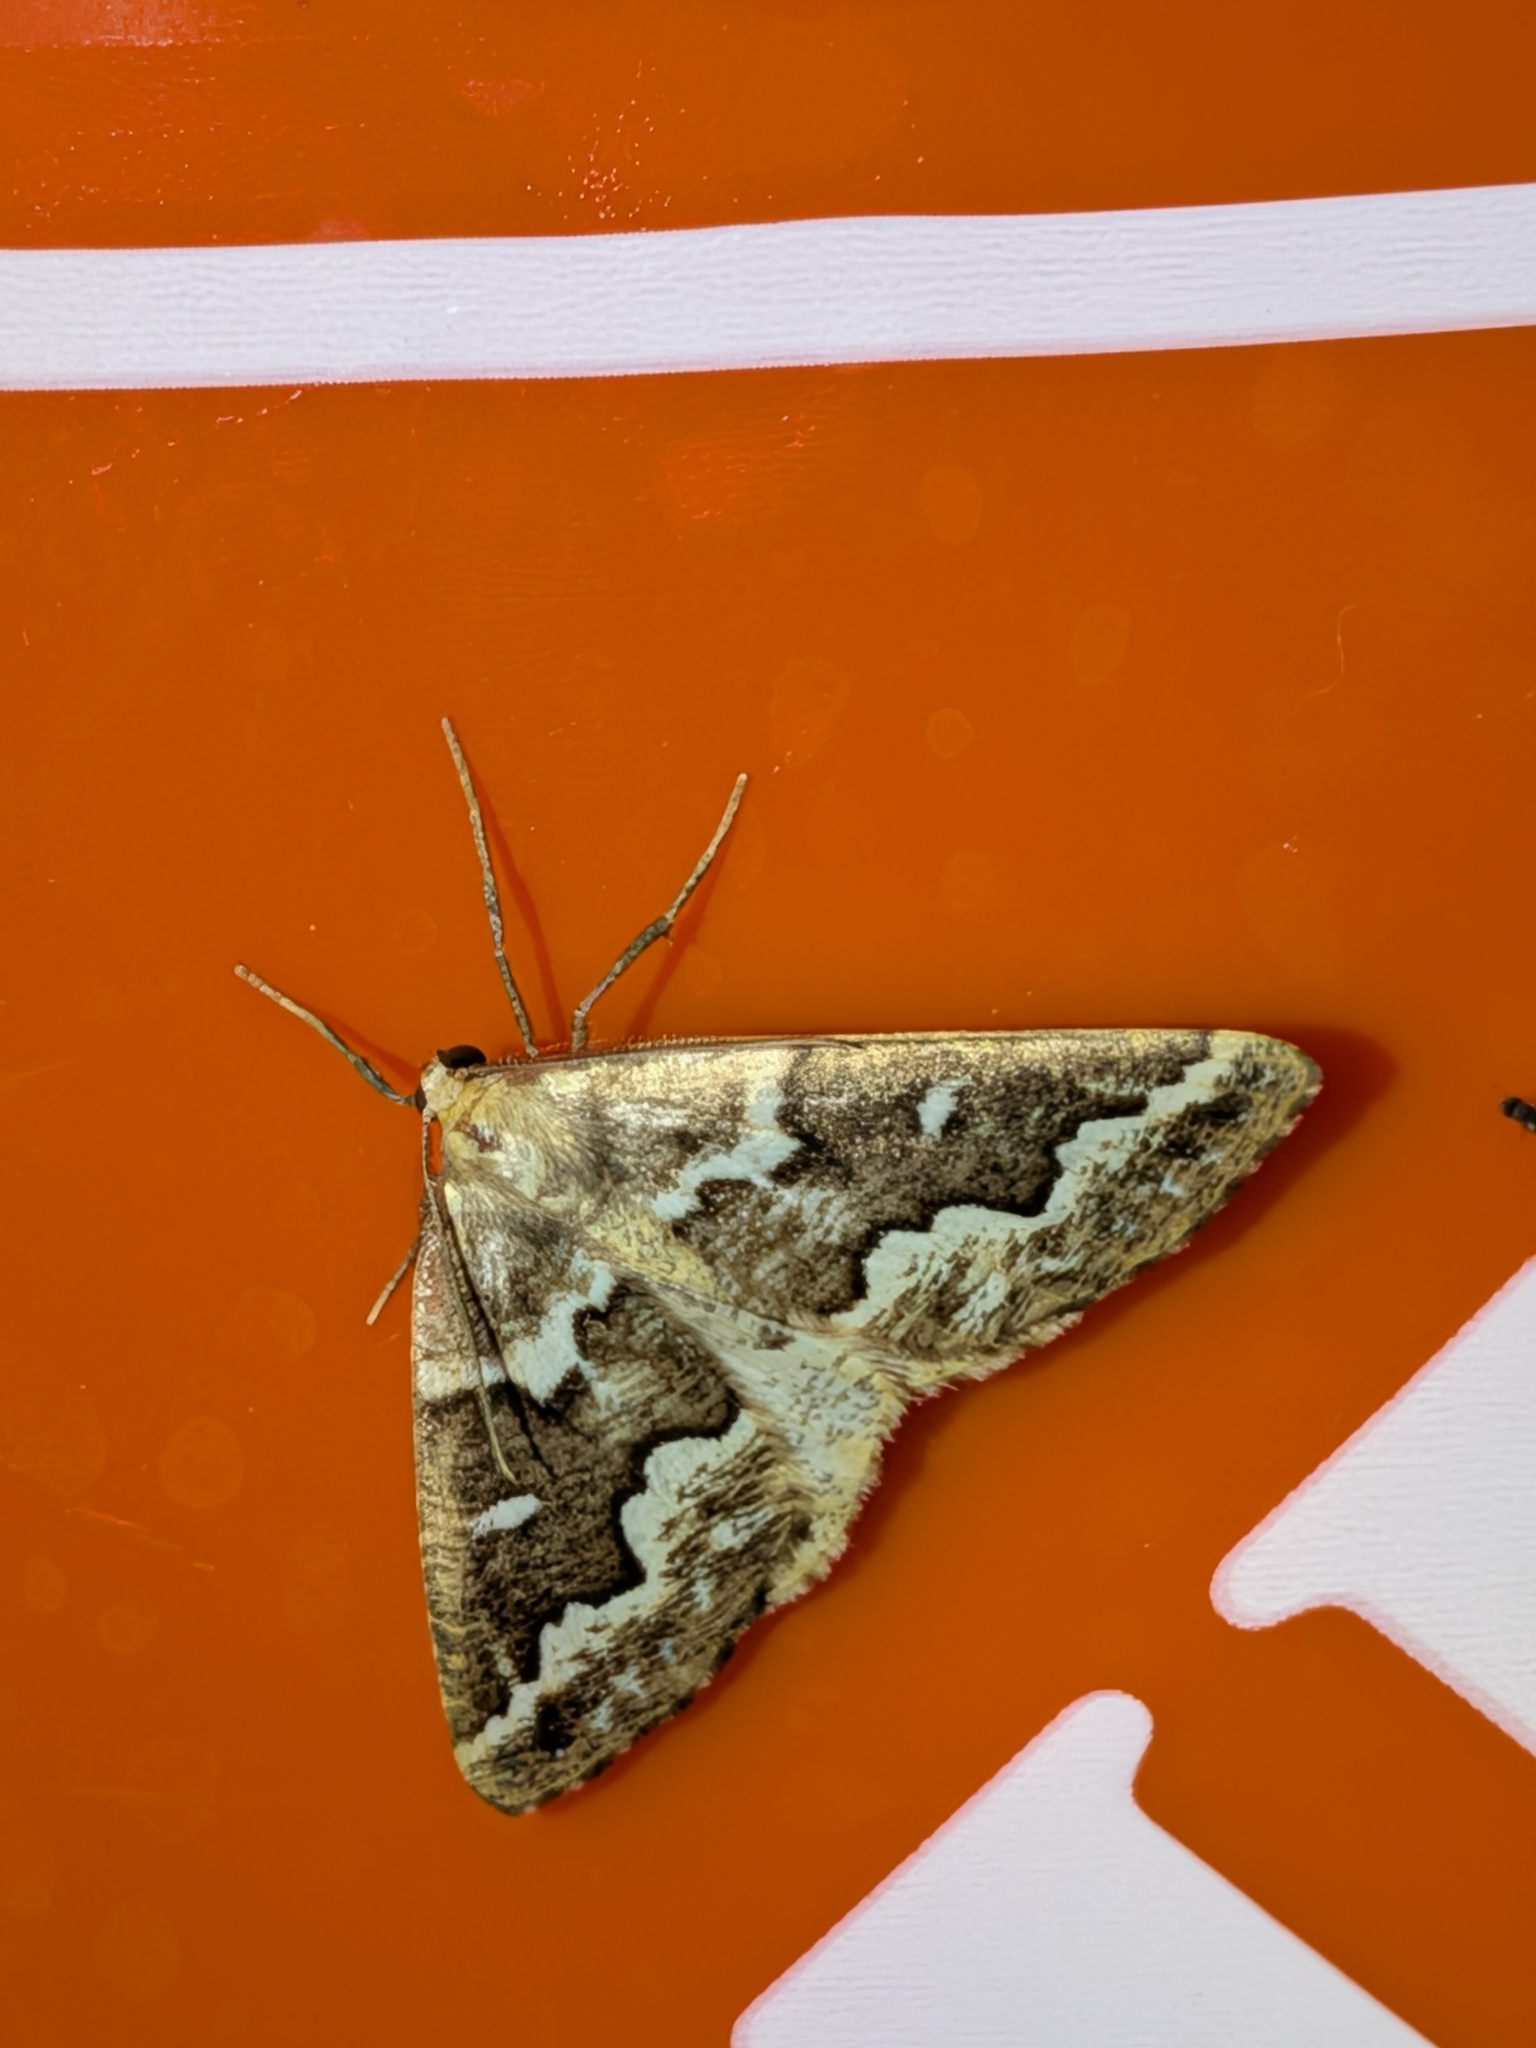
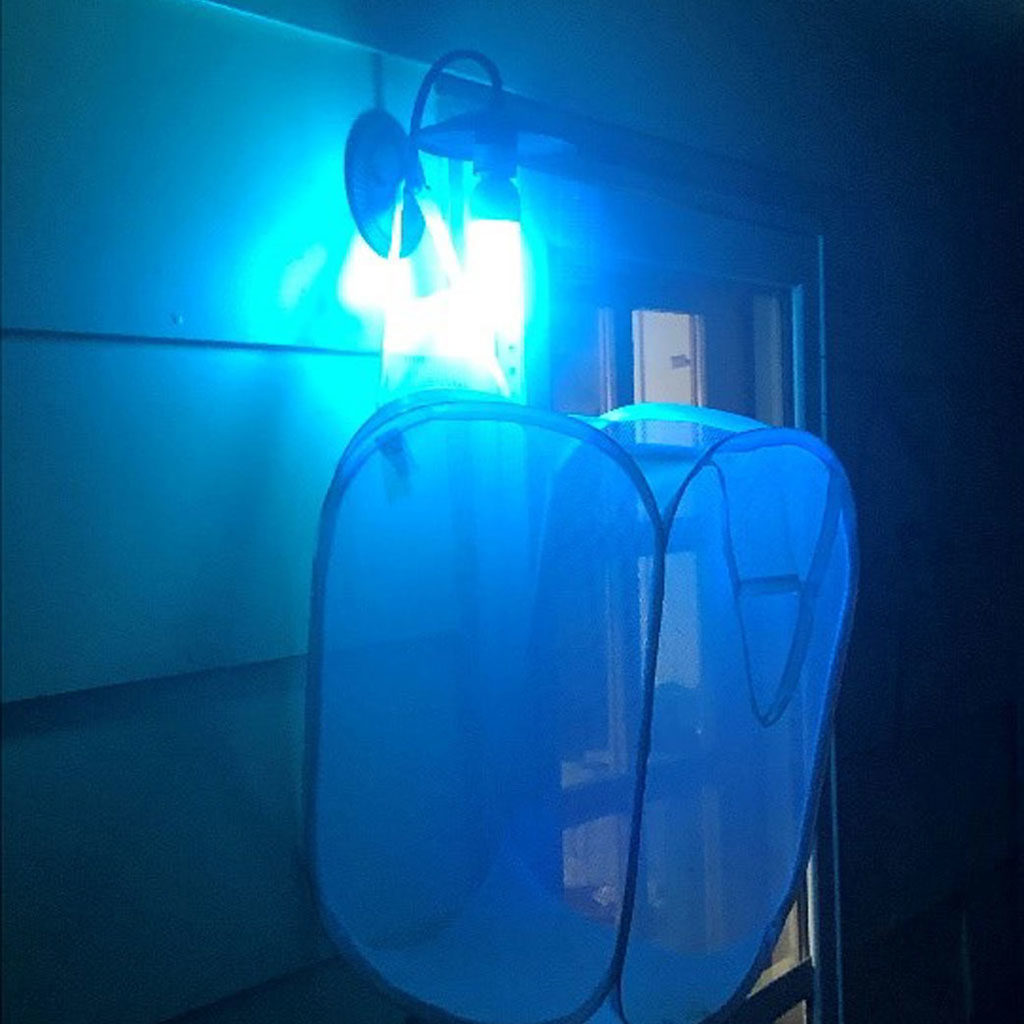
This moth trap is not weather-proof, so I do not recommend putting it outside with rain in the forecast as-is. Read the upgrades section below for ideas on how to waterproof it a bit.
troubleshooting
So you woke up, rushed out the door, and opened the lid to find.... nothing! What happened? The most likely problem is that the bucket was placed outside in unideal conditions.
Light pollution is the first potential culprit to consider. Turn off exterior lights and try to place your bucket somewhere dark. Unfortunately, my light traps in our specific urban backyard have never significantly attracted moths, even though they work great in other urban and rural locations. Both of our next-door neighbors have extremely bright, unadjustable garage lights that my my traps simply cannot compete with.
Cold temps and wind are the other two most common problems in my experience. Moth visitors tend to drop off when nighttime temps are under 65 degrees F, and a stiff breeze can keep them grounded.
It's also worth making sure your bulb is quite close to the funnel, the lid is on tight, and there are no large gaps between the funnel and lid.
If you're still mothless, upgrading your light source is the first thing to experiment with. The A19 bulbs are convenient and cheap for a budget build, but they won't be the most effective option out there.
upgrade ideas for your bucket
- $0-$20
- My number one cheap recommendation is to hot glue the funnel to the lid. (Do not use tape on this project. The moths WILL find any sticky edges or upturned corners, and the results will be sad.) This fills gaps through which the moths can escape, and it makes the lid easier to handle.
- Cut slits into your lid so you can zip-tie the lampshade ring to the lid for stability.
- Drill some SMALL holes in the bottom so your bucket doesn't flood in case of rain. (I generally only recommend using this bucket design on dry nights or under a protective overhang.)
- Waterproof the light by cutting the top off of an empty 2-liter soda bottle, slicing three slits for the lampshade arms, and placing it upside down on the light. These bulbs get hot, so don't let the plastic touch the bulb.
- $20-100
- Experiment with different light bulbs. Or add more! Many people report success with bulbs for reptile setups, which require a different light cord.
- To go mobile for cheap, get USB powered light sources and a phone battery.
- $100+
- Upgrade your lights to the next level.
- Get a waterproof, professional-grade 365 nm + 395 nm entomology light for about $90, and just hang it above your bucket with a cheap camera tripod. (This is my ideal setup. If you have the money to spend, I recommend doing this instead of the bulb + lampshade ring setup from the very start.)
- Mercury vapor bulbs, the gold tier of the insect-attracting world, are scarce but still available on eBay. They will require a different mount than the lampshade and strong power source.
- Upgrade your lights to the next level.
- Go fully mobile with a portable power station.
- Skip the build and buy a prebuilt bucket trap made just for mothing (although this is not in the DIY-spirit, I think it's worth knowing there are pre-build options out there!)
other moth trap build styles and guides
There are a ton of forum threads, blog posts, and professional guides on how to make different types of moth traps. Read through some of these links below for inspiration!


This features different types of lights that you can try, but some are hard to find in the U.S.

This resource is full of great ideas for all budgets and describes several types of traps!
Here's a cool build guide showing how to waterproof the light.
This is where I got the idea for the lampshade ring from... it's genius!
Great breakdown of the Robinson trap style with more info on lights.